Designers: Sidd Shenoy and Karthik Sekar
Client Coordinator: Edie Kahn, OT
[youtube]http://www.youtube.com/watch?v=dE0nzReS9No[/youtube]
INTRODUCTION
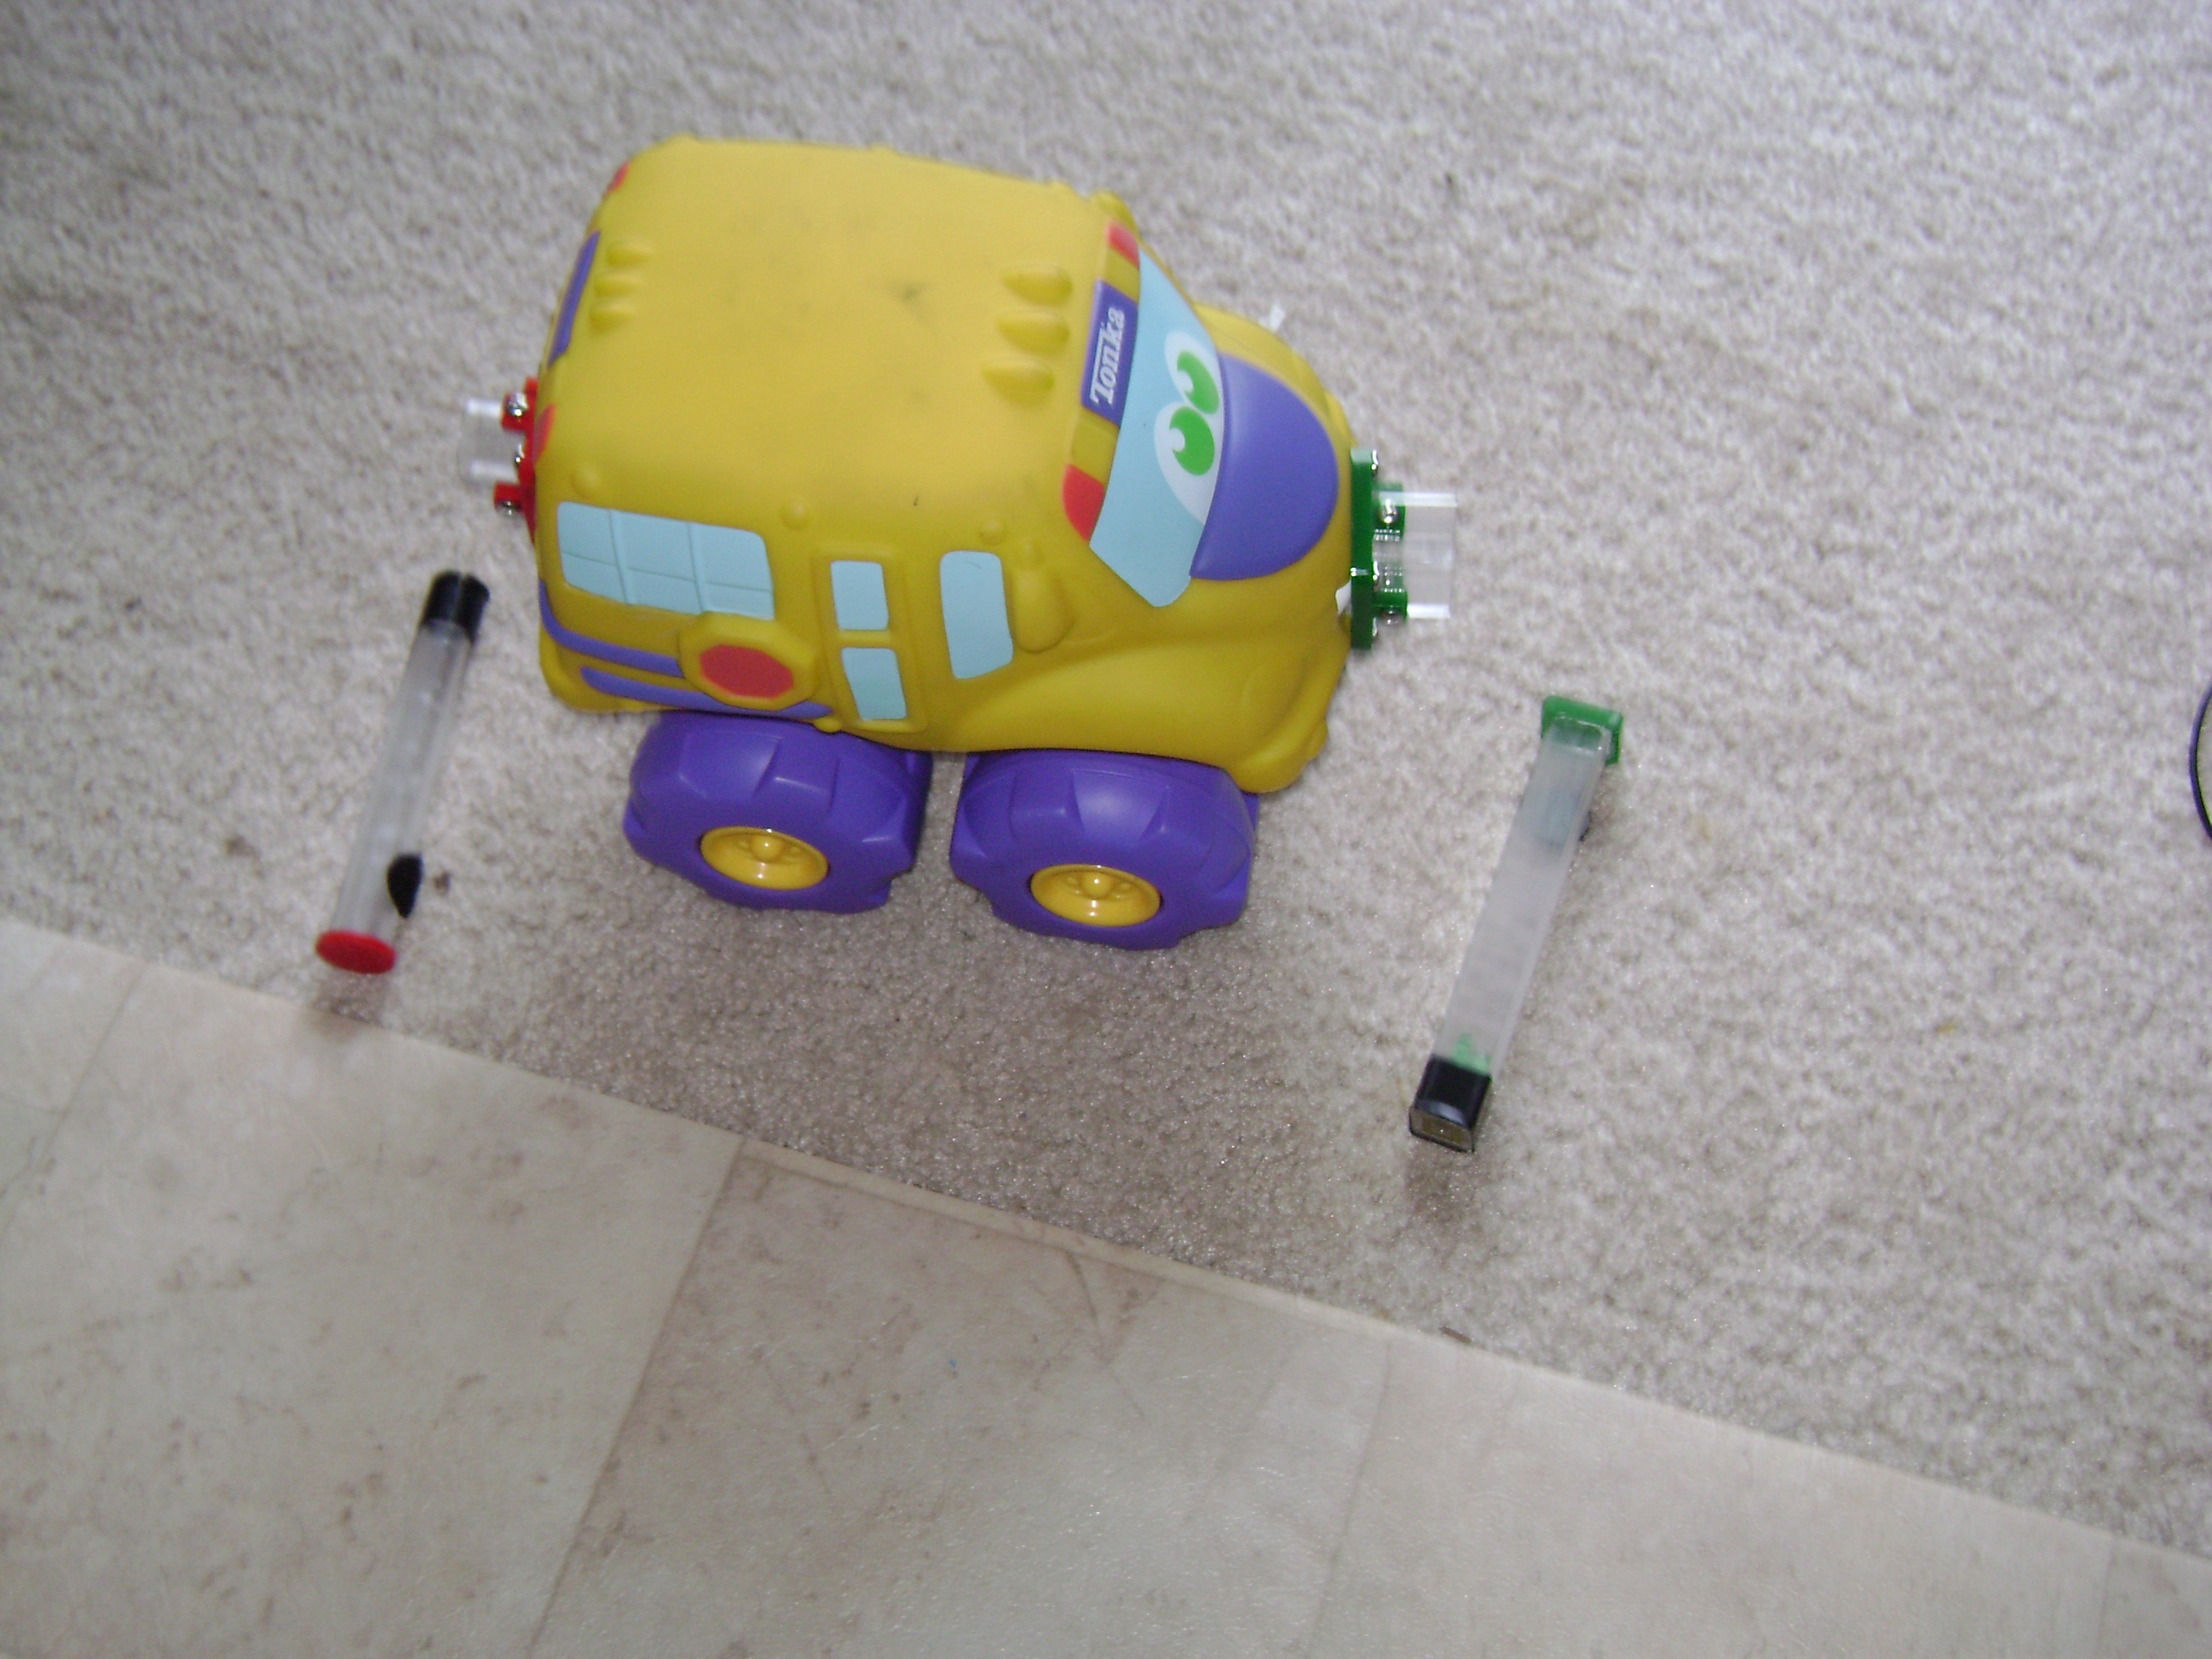
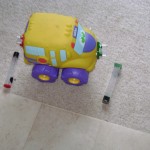
Figure 1: Arm strengthening device with round (red) and square (green) handles
Our client is a two-year old boy who loves musical and visual feedback. He has cognitive delays, as well as poor strength, fine motor control, and coordination. His therapist requested a device that helps him improve his upper body strength and coordination. This device also needed to be durable, safe, and engaging so that he is motivated to use it. We developed a school bus toy that is based on a commercial toy. We added two custom handles. When the client inserts the handles all the way into tunnels that are located above the front and rear bumpers, then LEDs illuminate inside the handles. This activity is similar to using an electronic shape sorter and helps with fine motor control. When he pushes the handles against the end panels inside the tunnel, the device provides musical feedback. This helps with arm strengthening, as the client has to push the handles against interior springs.
SUMMARY OF IMPACT
Our therapist commented that she had not seen a lot of toys that really engage him. However, he enjoyed using this device and it was “an adorable, therapeutic, electronic toy”. She is confident that this will help him improve his strength and coordination.
TECHNICAL DESCRIPTION
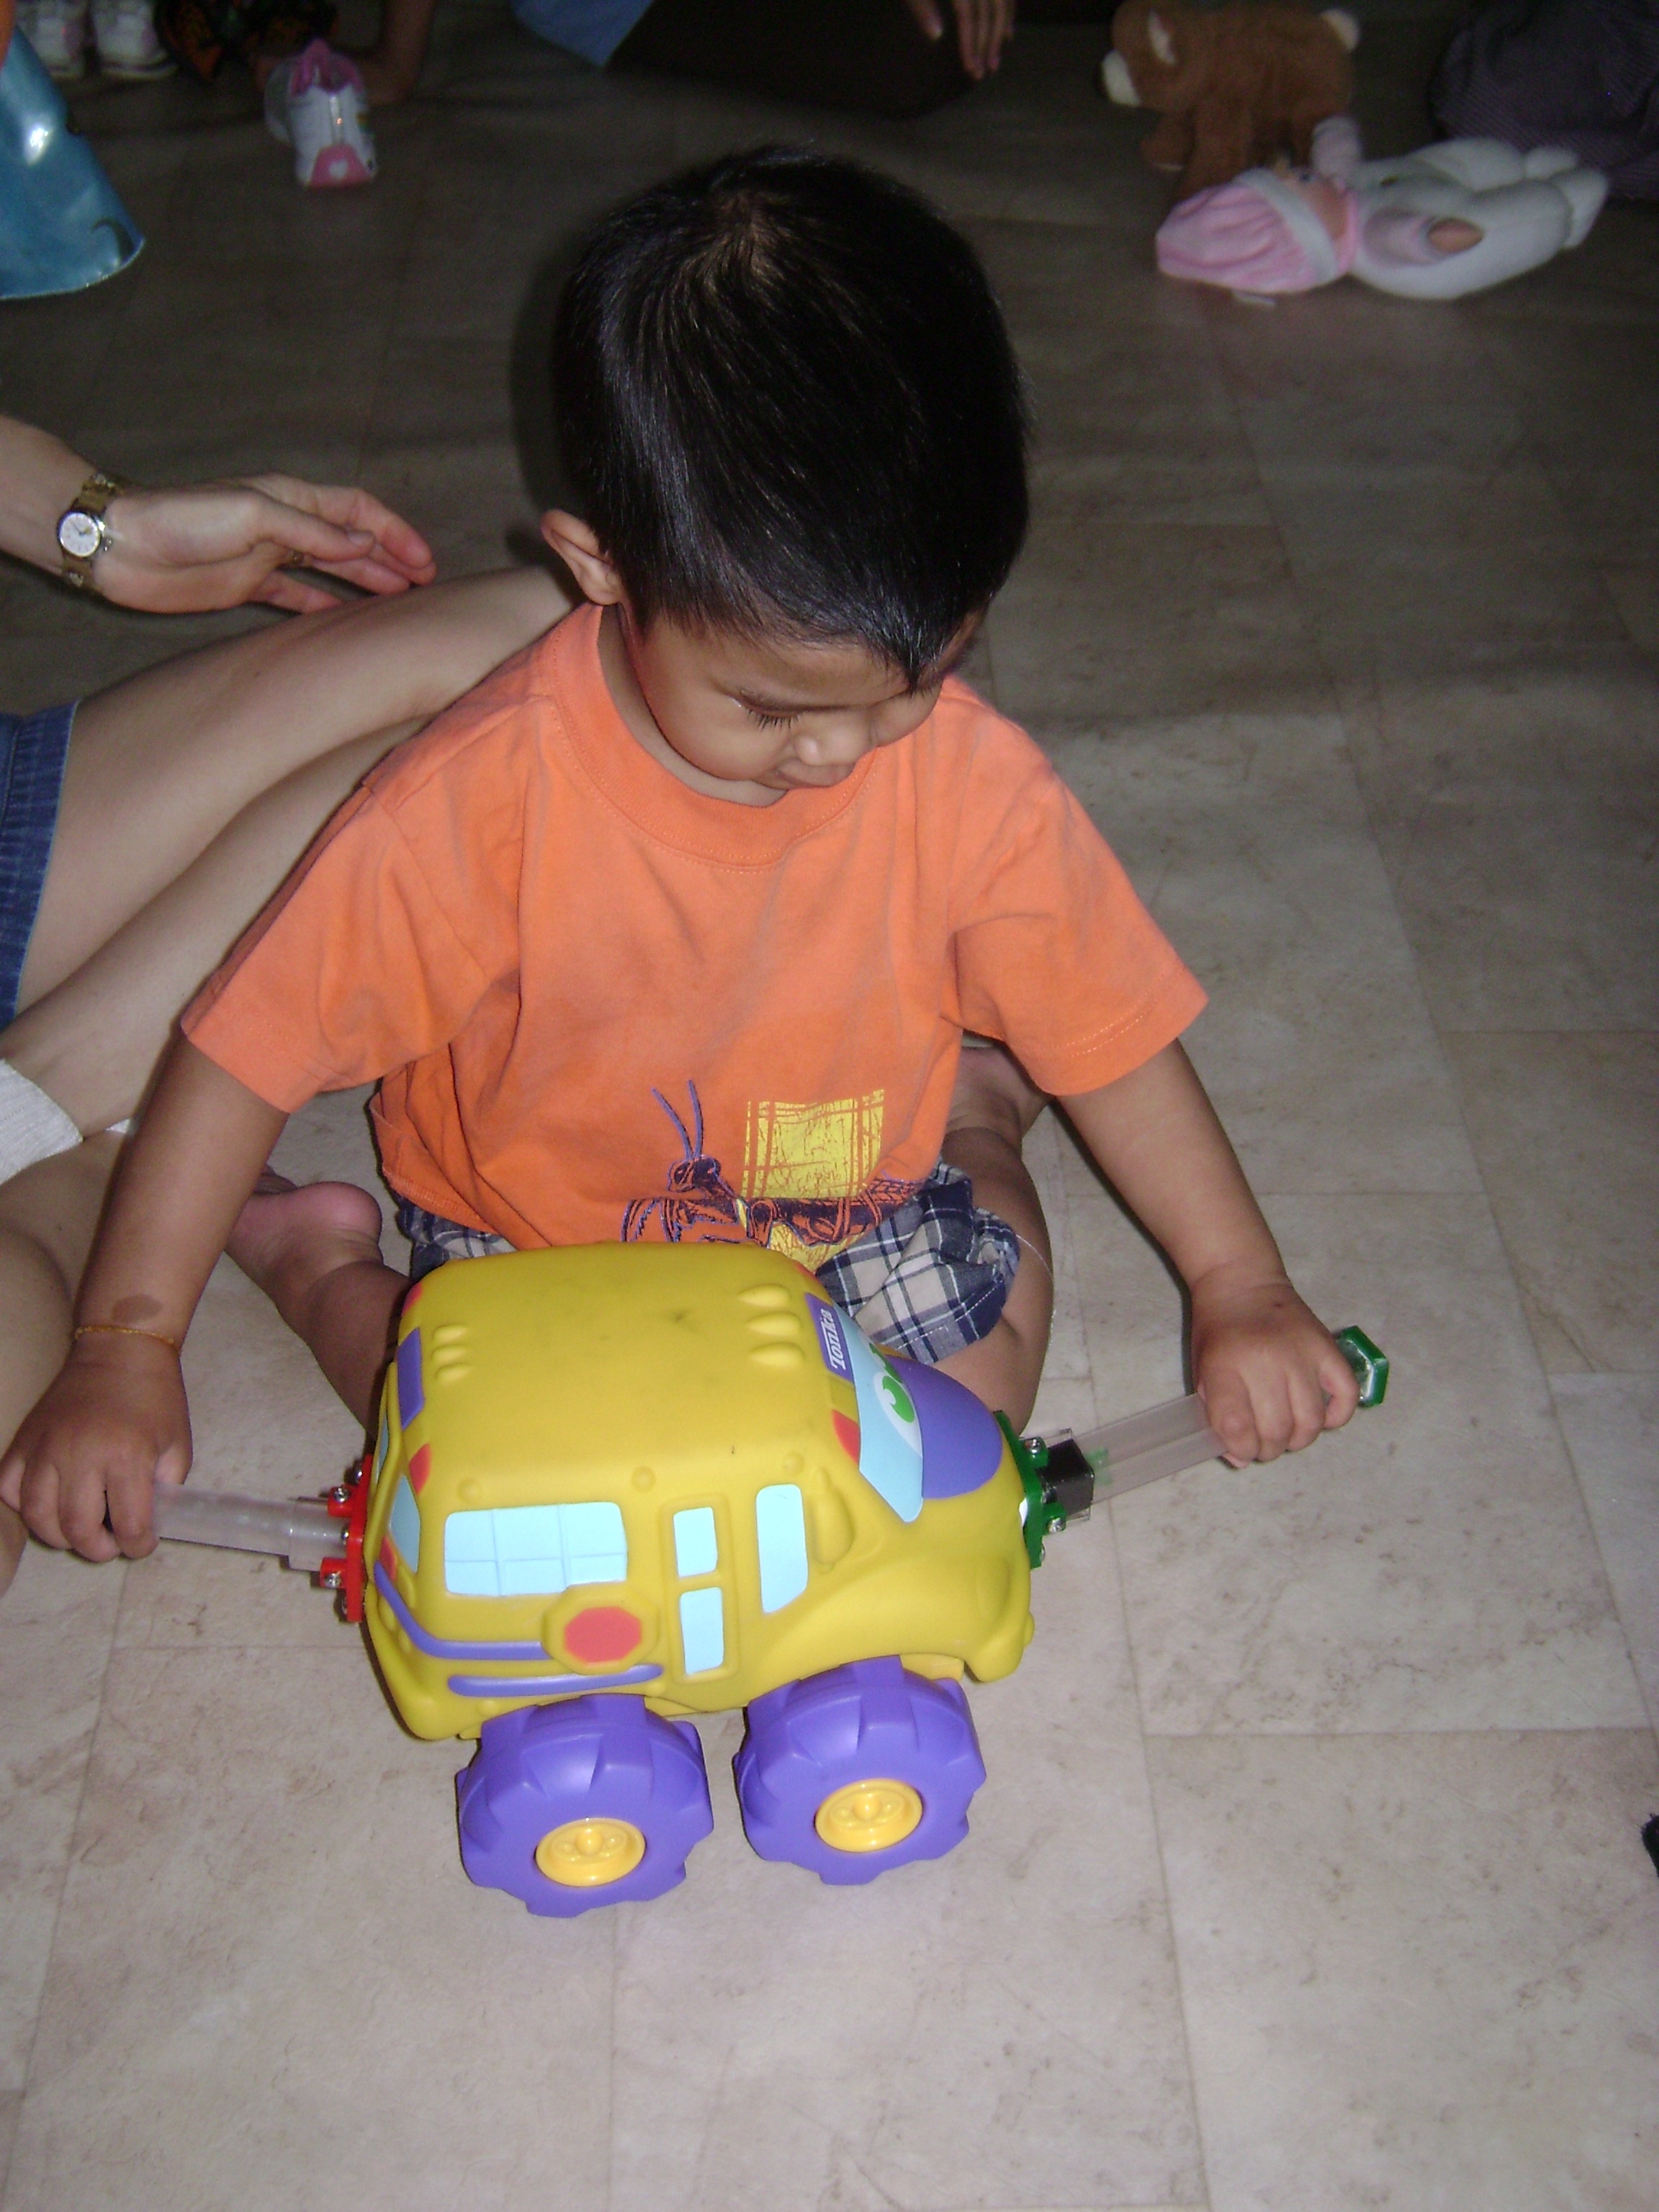
Figure 2: Client inserting handles into the corresponding tune
The outside of the device is from the Playskool Tonka Wheel Pals Cushy Cruisin’ School Bus®. The shell of the bus is made of a single mold of soft, durable polyester fiber. It is “squeezable”. The bottom is made of hard plastic with an axle attached to plastic wheels. We milled out the battery chamber in the base to make enough room for a nine-volt battery, instead of the two AA batteries that came with the toy. We removed the original electronics from the base and removed the stuffing from the interior of the shell.
We made two handles: one with circular cross section, and the other with a square cross section. The circular handle is 5.40″ long, has a 1” diameter, and is made from hollow acrylic tubing. We fixed a 1.20” diameter circular red acrylic piece on the one end to prevent that end from going into the tunnel. The other end is made of concentric electrodes, which power an LED inside of the handle when it contacts the powering electrodes inside the tunnel. As a result, the handles luminesce red when pushed all the way into the tunnel. The square handle is of similar construction. It has 1” by 1” cross section and the length is 5.75″. There is a green acrylic square piece on one end and concentric electrodes on the other end that connect power to internal green LEDs.
Both handles fit into corresponding acrylic tunnels, which are secured to the exterior of the bus, just above the front and rear bumpers, using a custom made acrylic flange. At the end of the tunnels inside the bus, there are electrodes that power LEDs inside the handles when they make contact.
Once the handles are inserted all the way into the tunnels, the client can push them further against spring-loaded acrylic panels. The spring action is provided by a standard toilet paper holder that is between the panels and housed in an acrylic box. As the spring-loaded panels slide along tracks, their position is detected by a pair of infrared (IR) distance sensors (Sharp GP2D120) that are mounted at the top of the acrylic box and encased in a custom-made aluminum housing to hold them in position. In this manner, the device can monitor how far the client has pushed in on the panels with the handles.
The signals from the IR sensors are input to a microcontroller. When it detects that the client has pushed the panels in a small amount, the microcontroller activates musical feedback with the programmable uMP3 module (Rogue Robotics, Toronto ON). The module has a built-in SD card slot, where the songs are loaded. The microcontroller pauses the song if the client releases the force and the panels spring back out. If the song has been playing for at least five seconds and the panels are pressed all the way in, the microcontroller triggers the module to start playing the next song on the playlist. An LM386 audio amplifier drives the speaker output. A nine-volt battery powers the circuit.
The cost of the device is approximately $300.
University Operator: (919) 962-2211 | © 2024 The University of North Carolina at Chapel Hill |