Designers: Erica Lee and Siroberto Scerbo
Client Coordinator: Marcia Rollings
INTRODUCTION
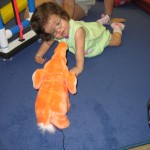
We developed a device that helps babies and toddlers build upper body strength. The device is placed adjacent to a child, who is lying on his or her stomach. When the child raises their head and shoulders, it triggers the device to provide a stimulus, such as music, bright lights, or vibration. This encourages the child to keep lifting their head and shoulders. For a music or sound stimulus, the teacher or therapist can select an MP3 file that is stored on a flash memory card, which is plugged into the built-in MP3 player. Alternatively, the teacher or therapist can attach any battery powered toy or device for the stimulus. The device is mobile through the use of four lockable wheels, and can also be disassembled into parts for portability.
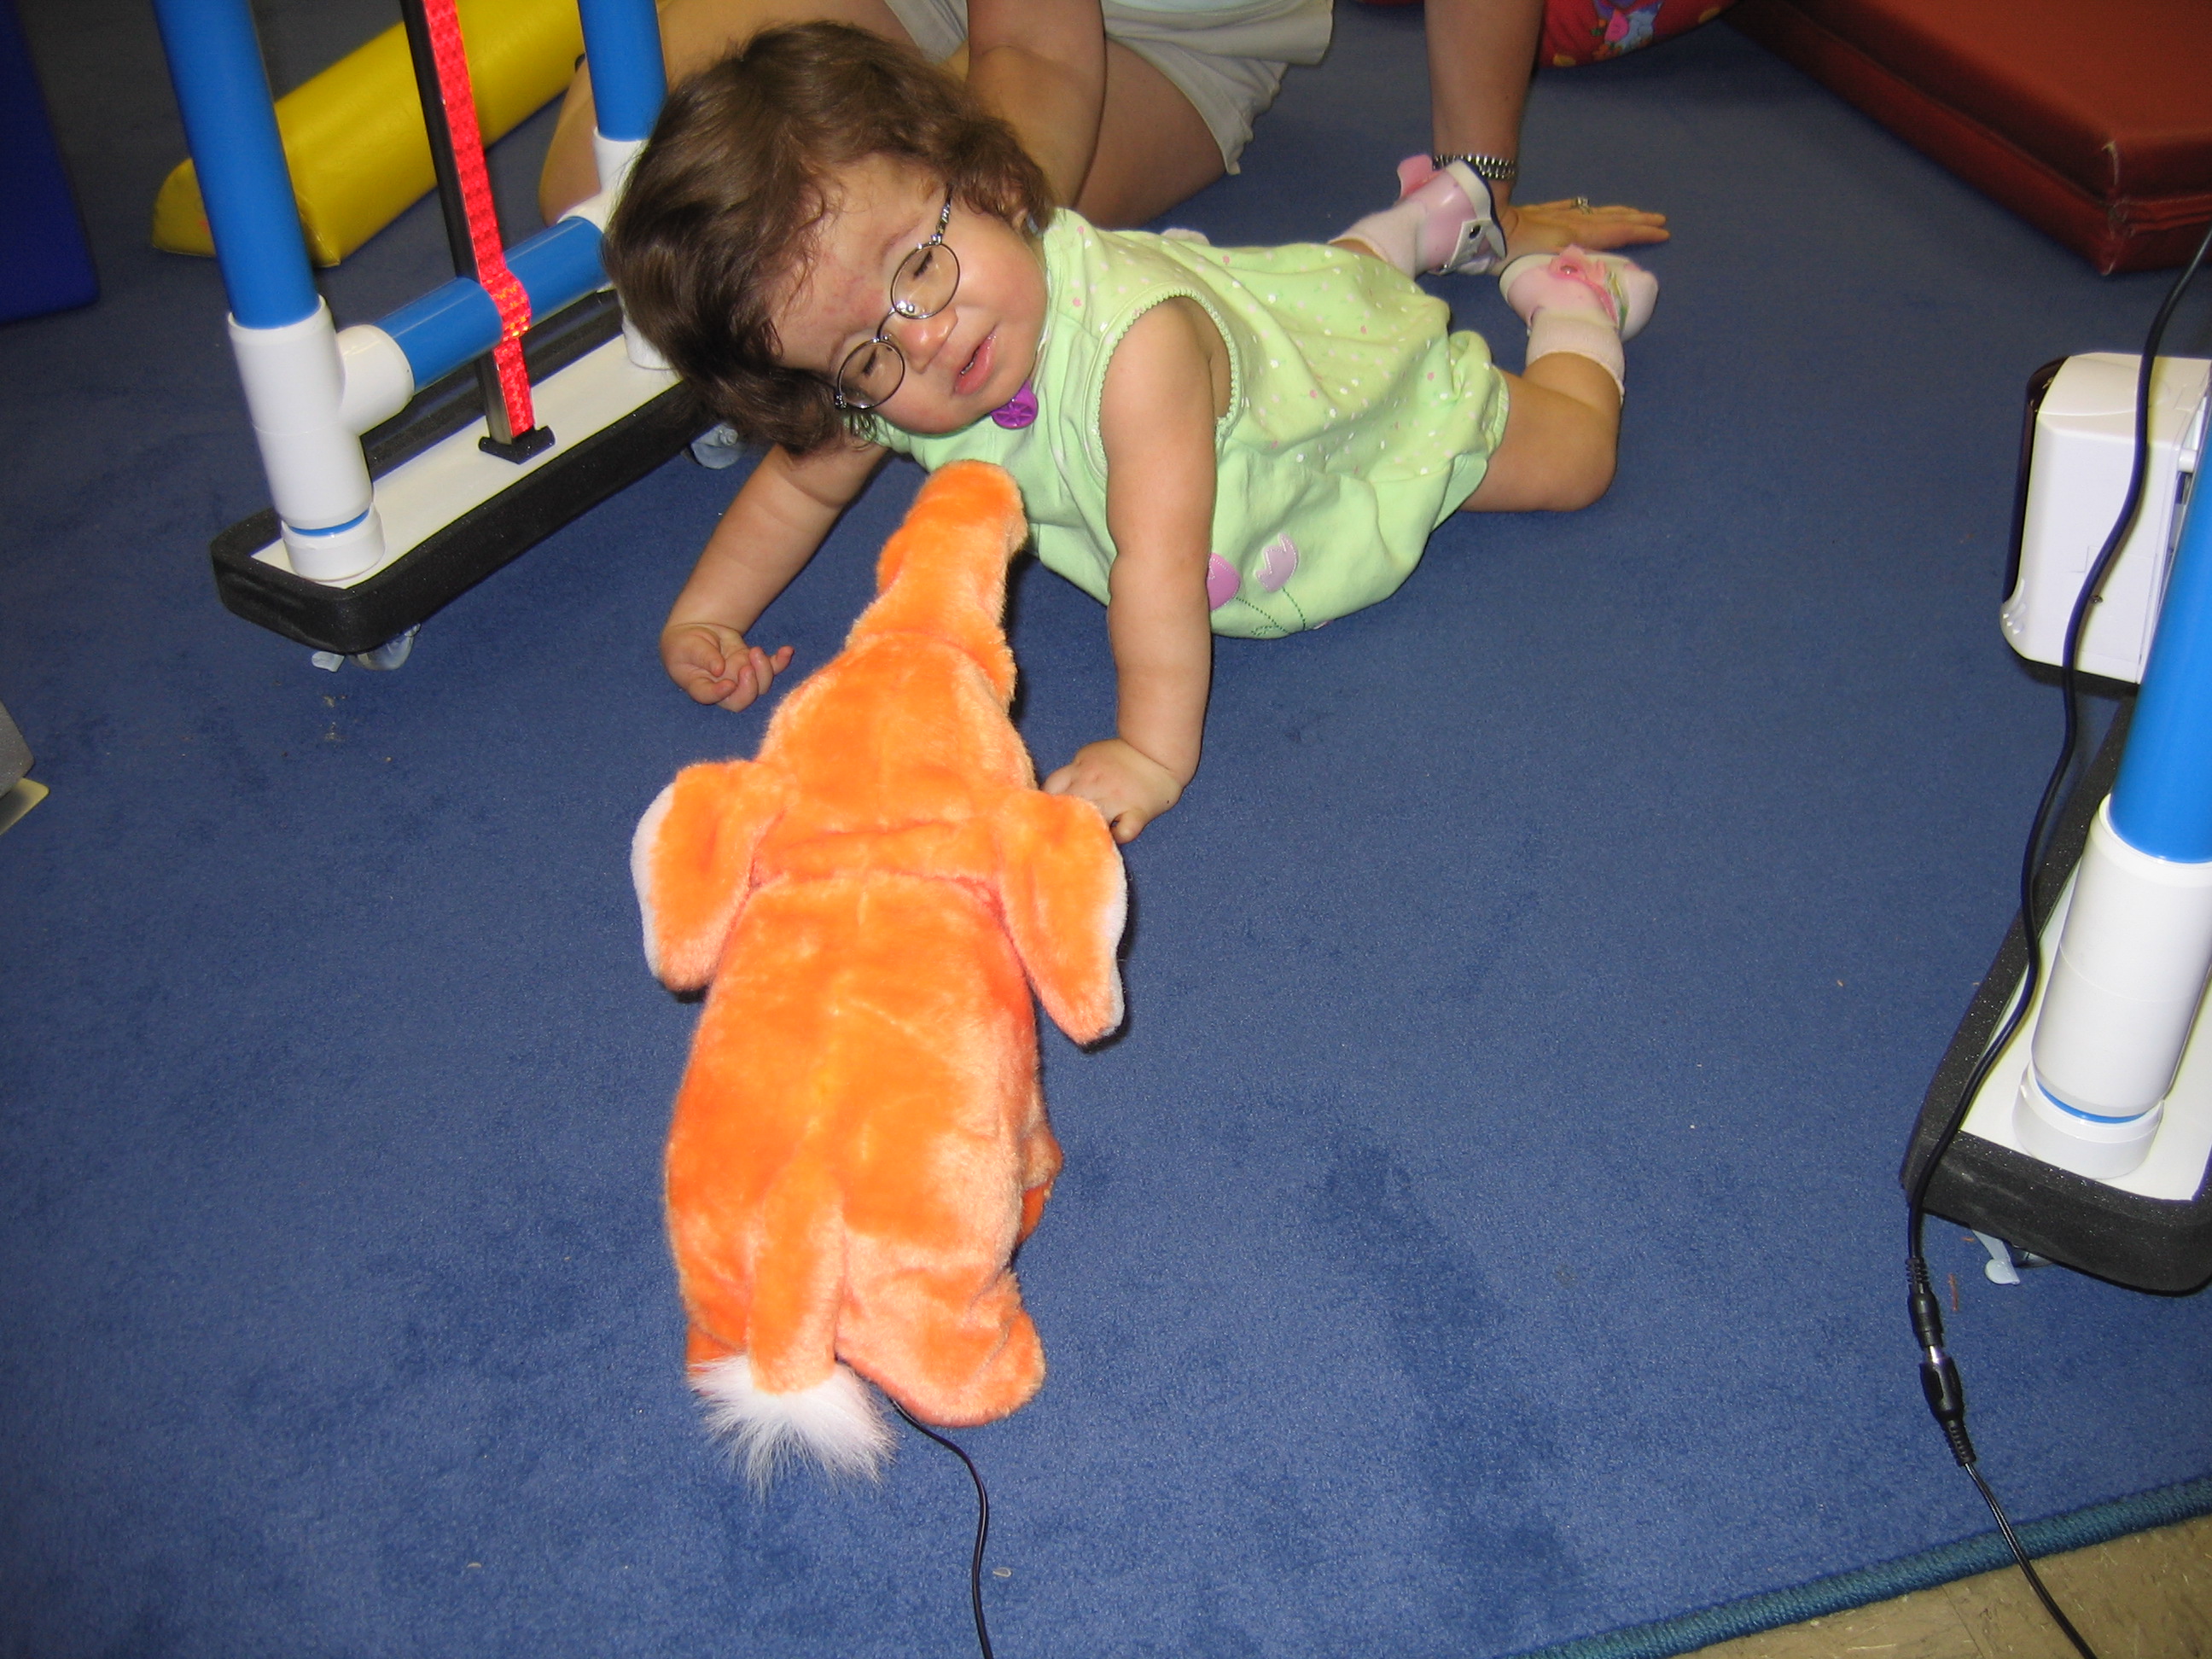
Figure 1: In this photo, the device is used to trigger a battery-operated toy to activate when the client pushes up.
SUMMARY OF IMPACT
When children are lying on their stomach, they are motivated to raise their head and shoulders to get a better view. This movement builds upper body strength and is a precursor to crawling. However, children with visual impairments have little motivation to raise their head and shoulders. As a result, they do not develop their upper body strength, and typically, they do not crawl. The goal of this project was to develop a device that could motivate a child to raise their head or upper body.
The client coordinator described the first time she used this device on a client: The client’s “PT would love to see him on a wedge more bearing weight on his hands and using his hands more [to build upper body strength]. However, he tolerates being directly on the floor on his tummy for short periods of time and does not tolerate being prone on a wedge and will very quickly become upset. The first time we tried this device, he lifted his head and the device started playing, ‘Who, Who, Who let the dogs out?’ His grin went from ear to ear. Then he continued to lift his head through the next rap song. Before we knew it, [the client] had been happily on the wedge for 15 minutes.”
TECHNICAL DESIGN
To fulfill these design criteria, our design is based on an infrared beam, similar to what is used in a burglary alarm system. Our completed device (see figures 1-2) looks like a walker with wheels, with the infrared transmitter/detector unit and battery case mounted on the left, speakers mounted on the crossbeam and an MP3 player with its controller on the right side. The therapist can change the height of the infrared unit (Radio Shack), so that it shines a beam just above the client, who is lying face down in the middle of the device. When the client pushes up, he or she blocks the infrared beam, which acts like a switch to trigger either a switch-activated toy or the built-in MP3 player. The infrared unit is mounted to a vertical shaft and secured by a quick release collar. This allows up or down adjustment of the device, depending on the height of the child when prone or on a wedge.
The stimulus can include music or recorded sounds to motivate the child. This is accomplished with a programmable MP3 player (Rogue Robotics, Toronto) that uses an SD flash memory card to store its songs. Using any computer, the teacher or parent can add different songs as well as record family members’ voices to the SD card.
The controller interface has an LCD, volume control, stereo plug and 2 switches. The first switch controls the different musical tracks and the second controls a delay. The brain of the controller, which makes all this possible, is a Basic Stamp II microcontroller (Parallax, Rocklin CA). It is in charge of processing the signal from the infrared device, managing the switches, sending the text to the LCD and telling the MP3 Player which song to play from the SD card.
The total cost is approximately $350.
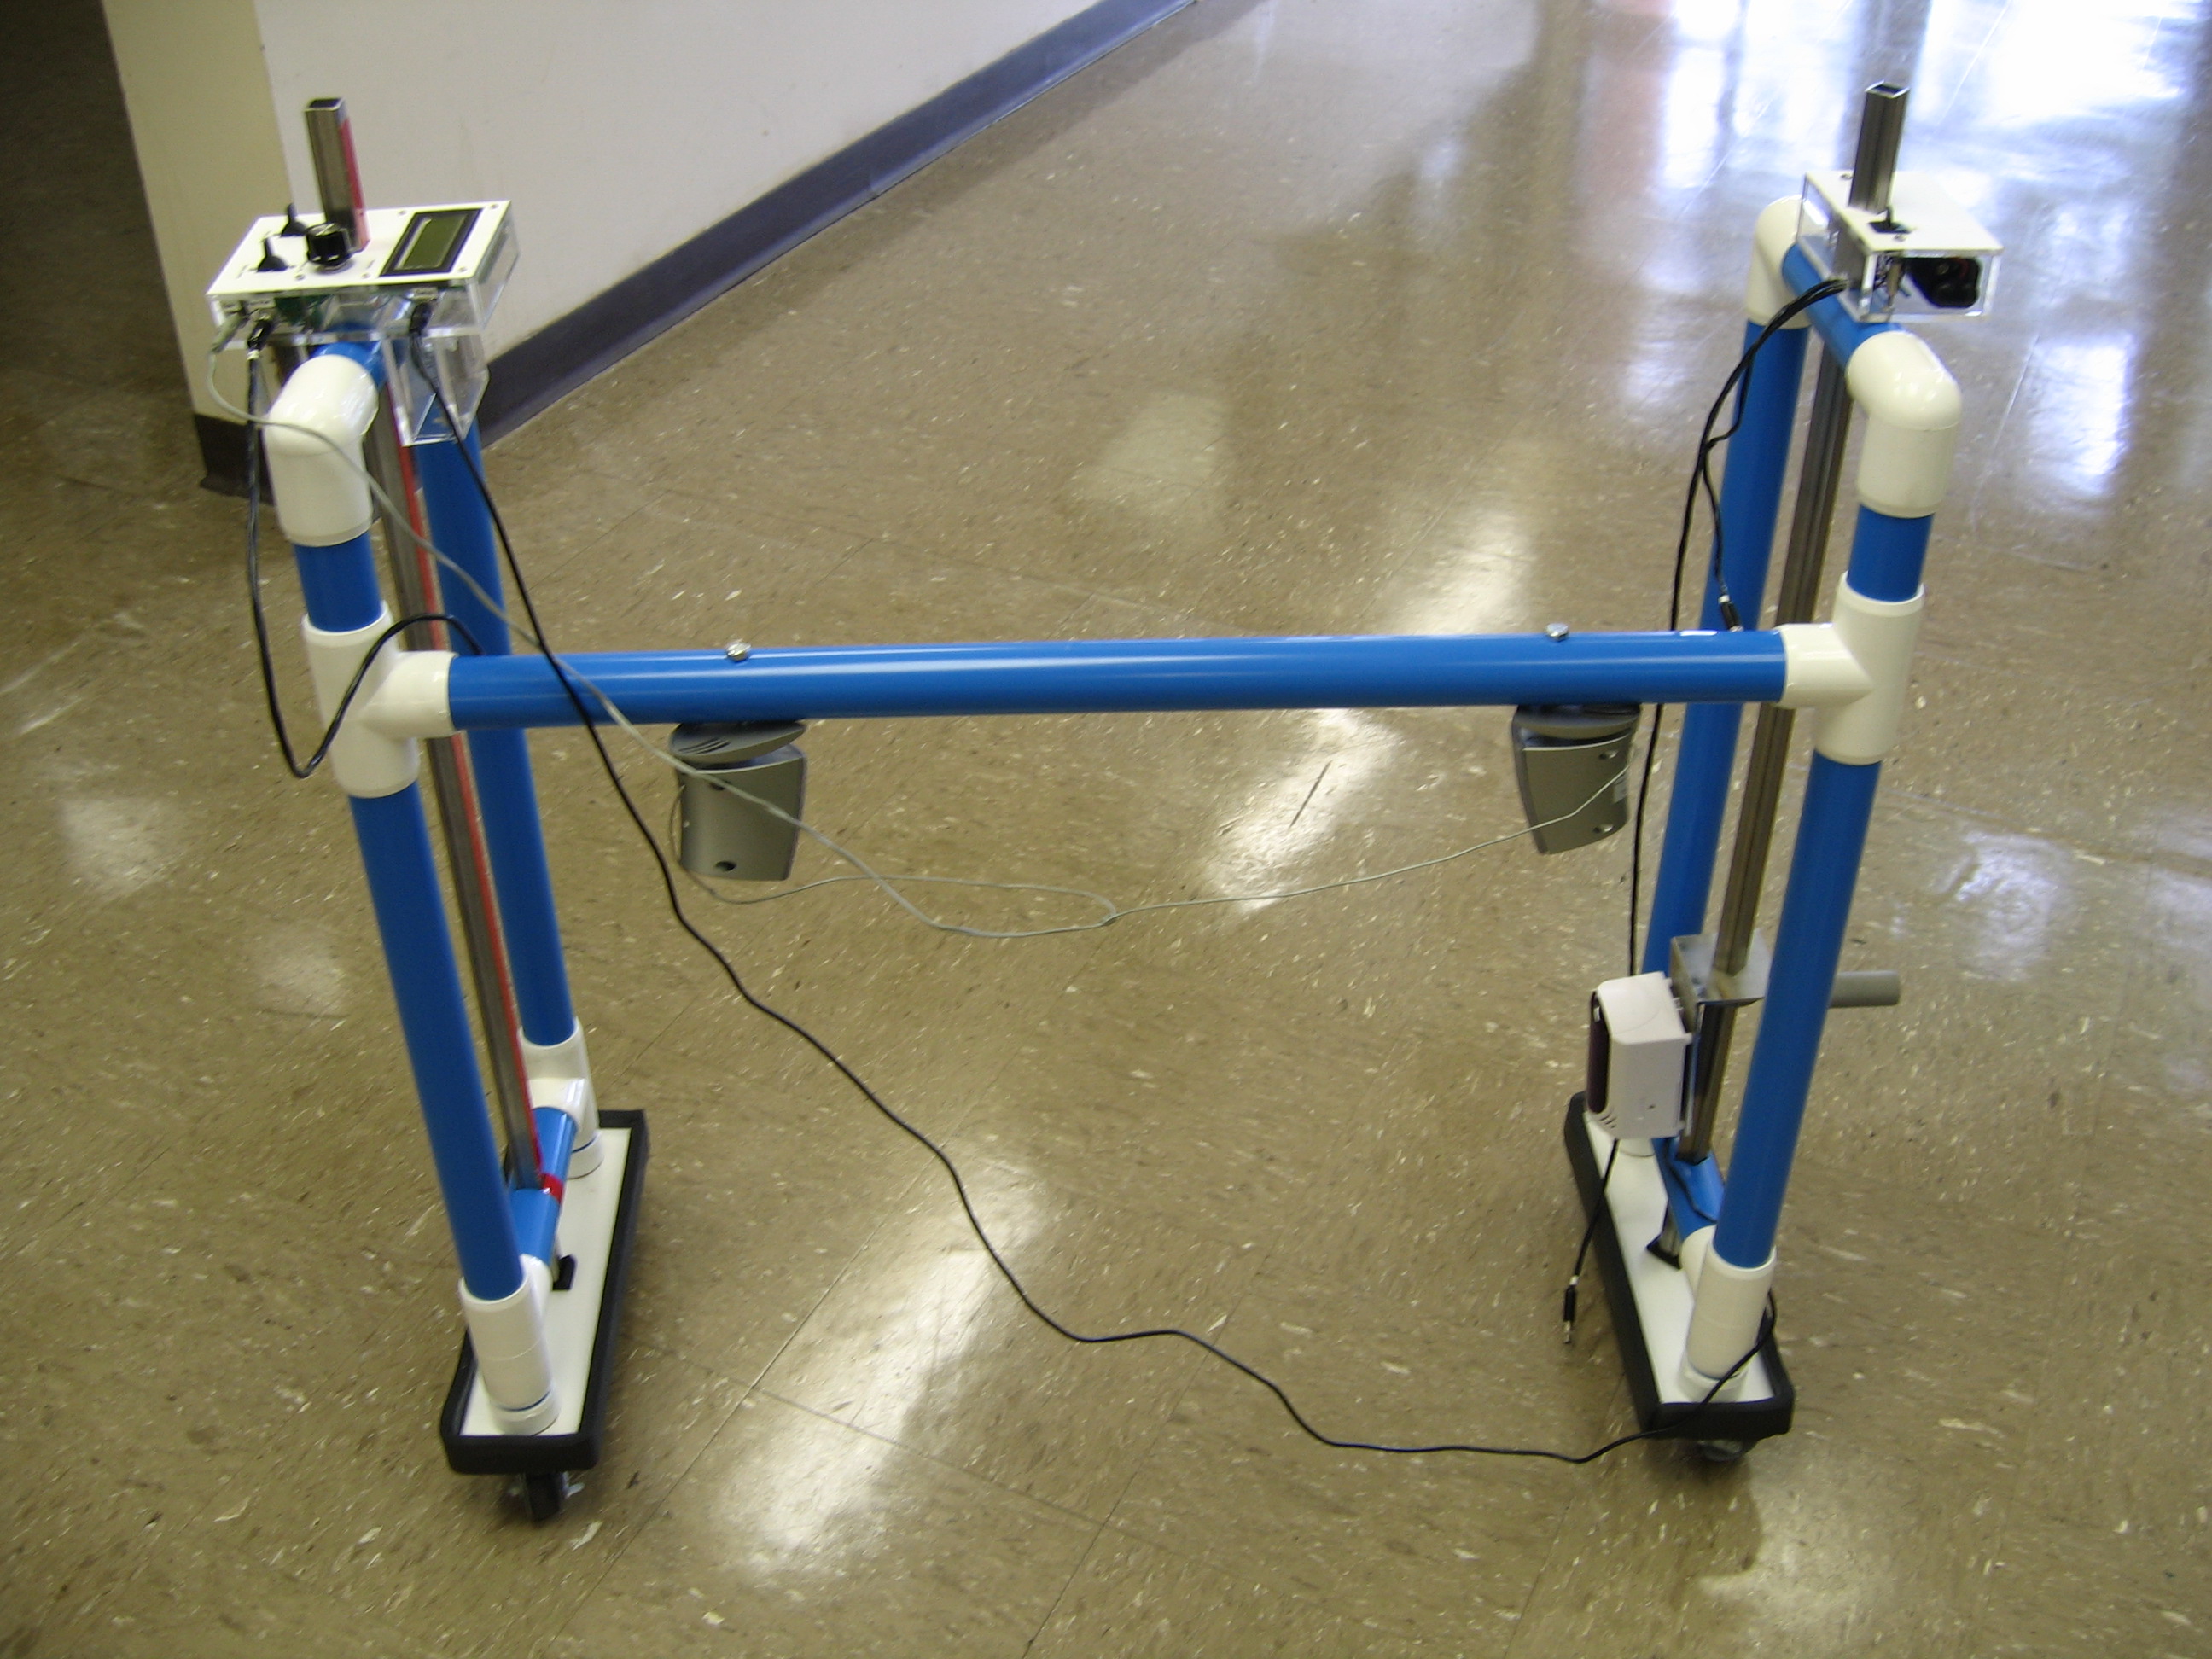
Figure 2: The custom MP3 player and LCD display is on the upper left to allow the user to select which song to play. The speakers are attached to the horizontal bar. The IR transmitter/receiver is on the lower right, directly across from a strip of reflector tape.
University Operator: (919) 962-2211 | © 2024 The University of North Carolina at Chapel Hill |